# Features
A feature is the next level of organization after a project. It groups scenarios with similar actions together.
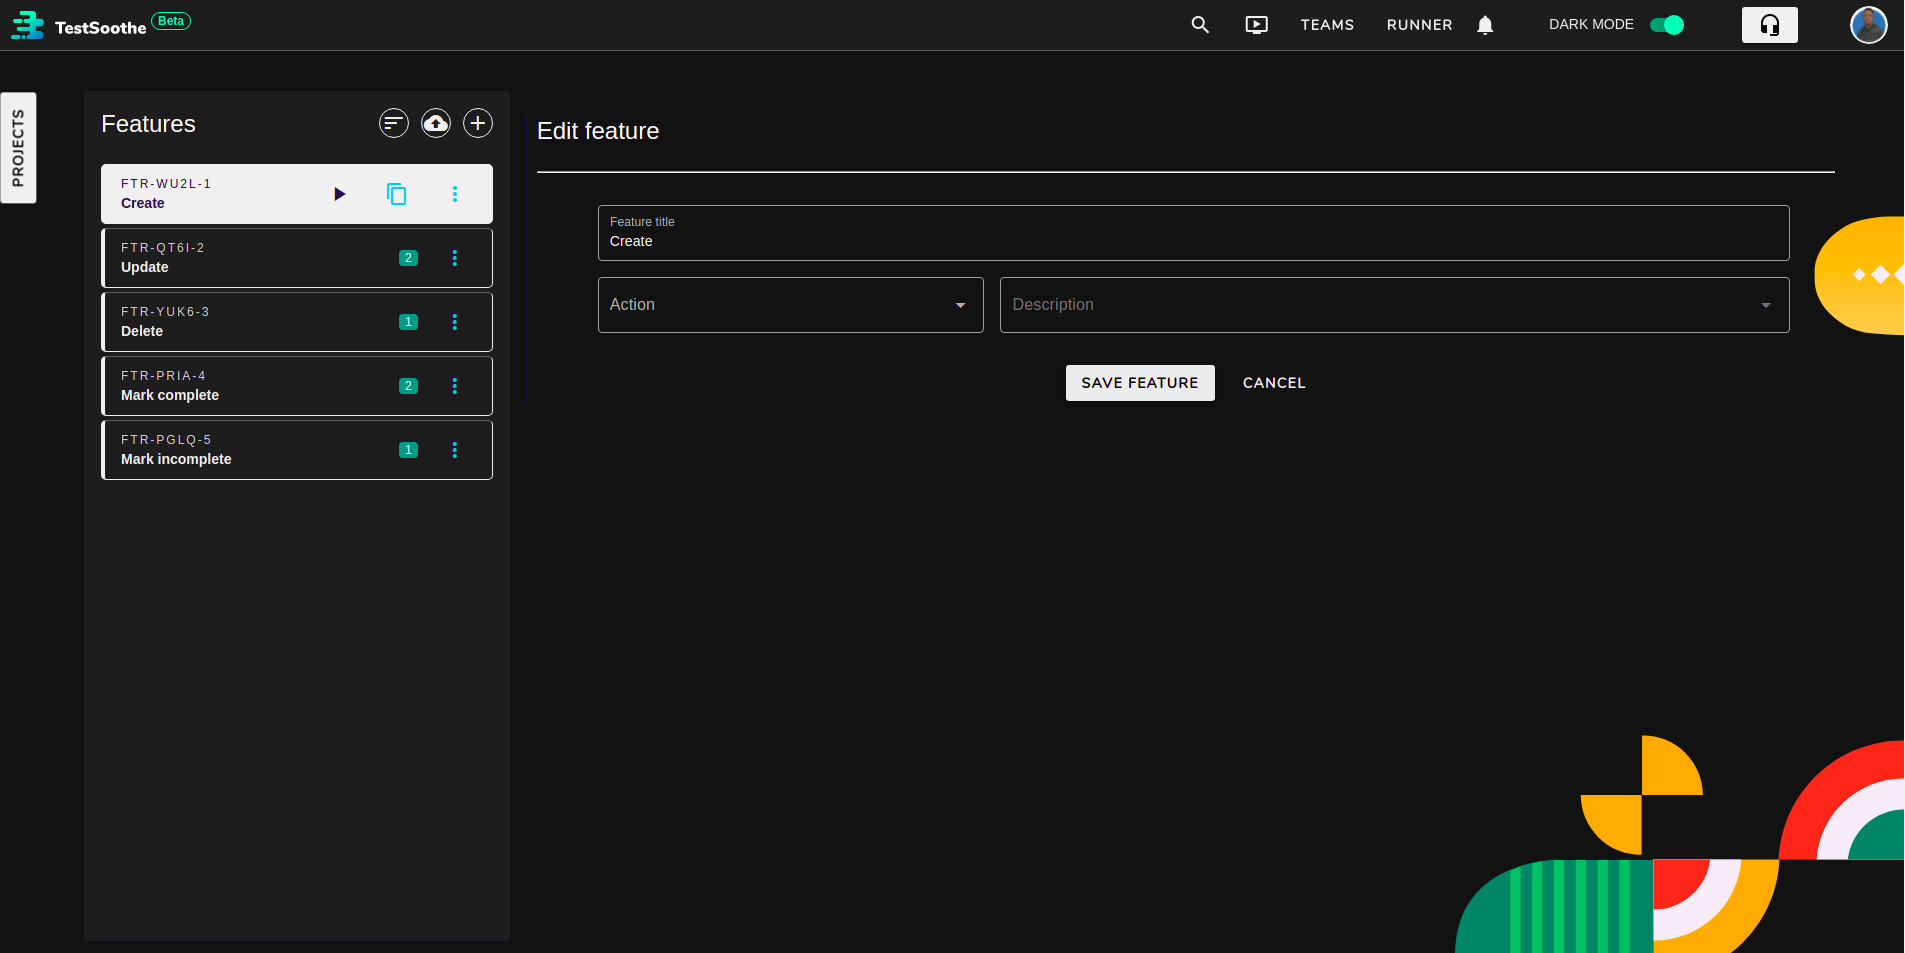
# List of features
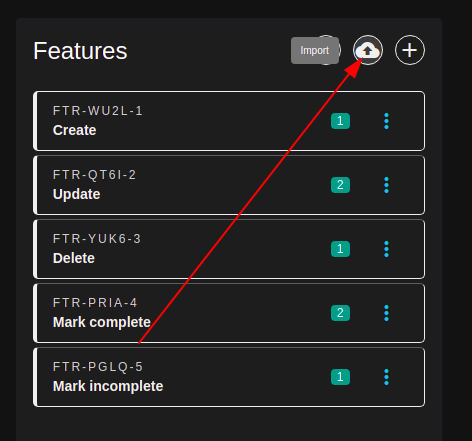
To view the list of features in a project, select the desired project and the Features pane would be shown with the list.
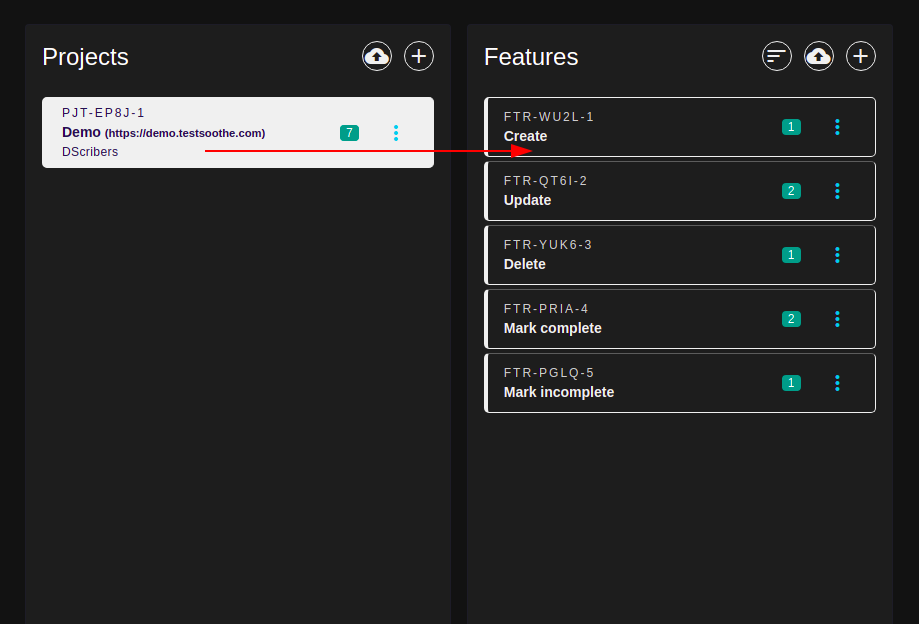
Each feature list item shows:

- the unique ID of the feature;
- the title of the feature; and
- the number of scenarios in the feature.
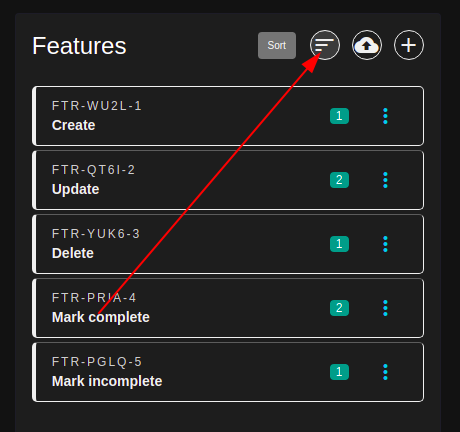
# Rearrange features
When a project is being tested with the runner, the features are tested in order of listing. If the order needs to change, use  to rearrange them.
Click to start rearranging.
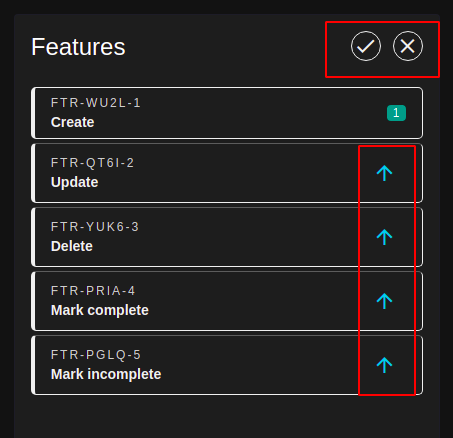
Click  on the desired feature list item to move it up to the desired position. Then click
  to save the position or
  to cancel.
# Create a new feature
To create a new feature, click  at the top right corner of the pane. Then fill out the feature information on the shown page.
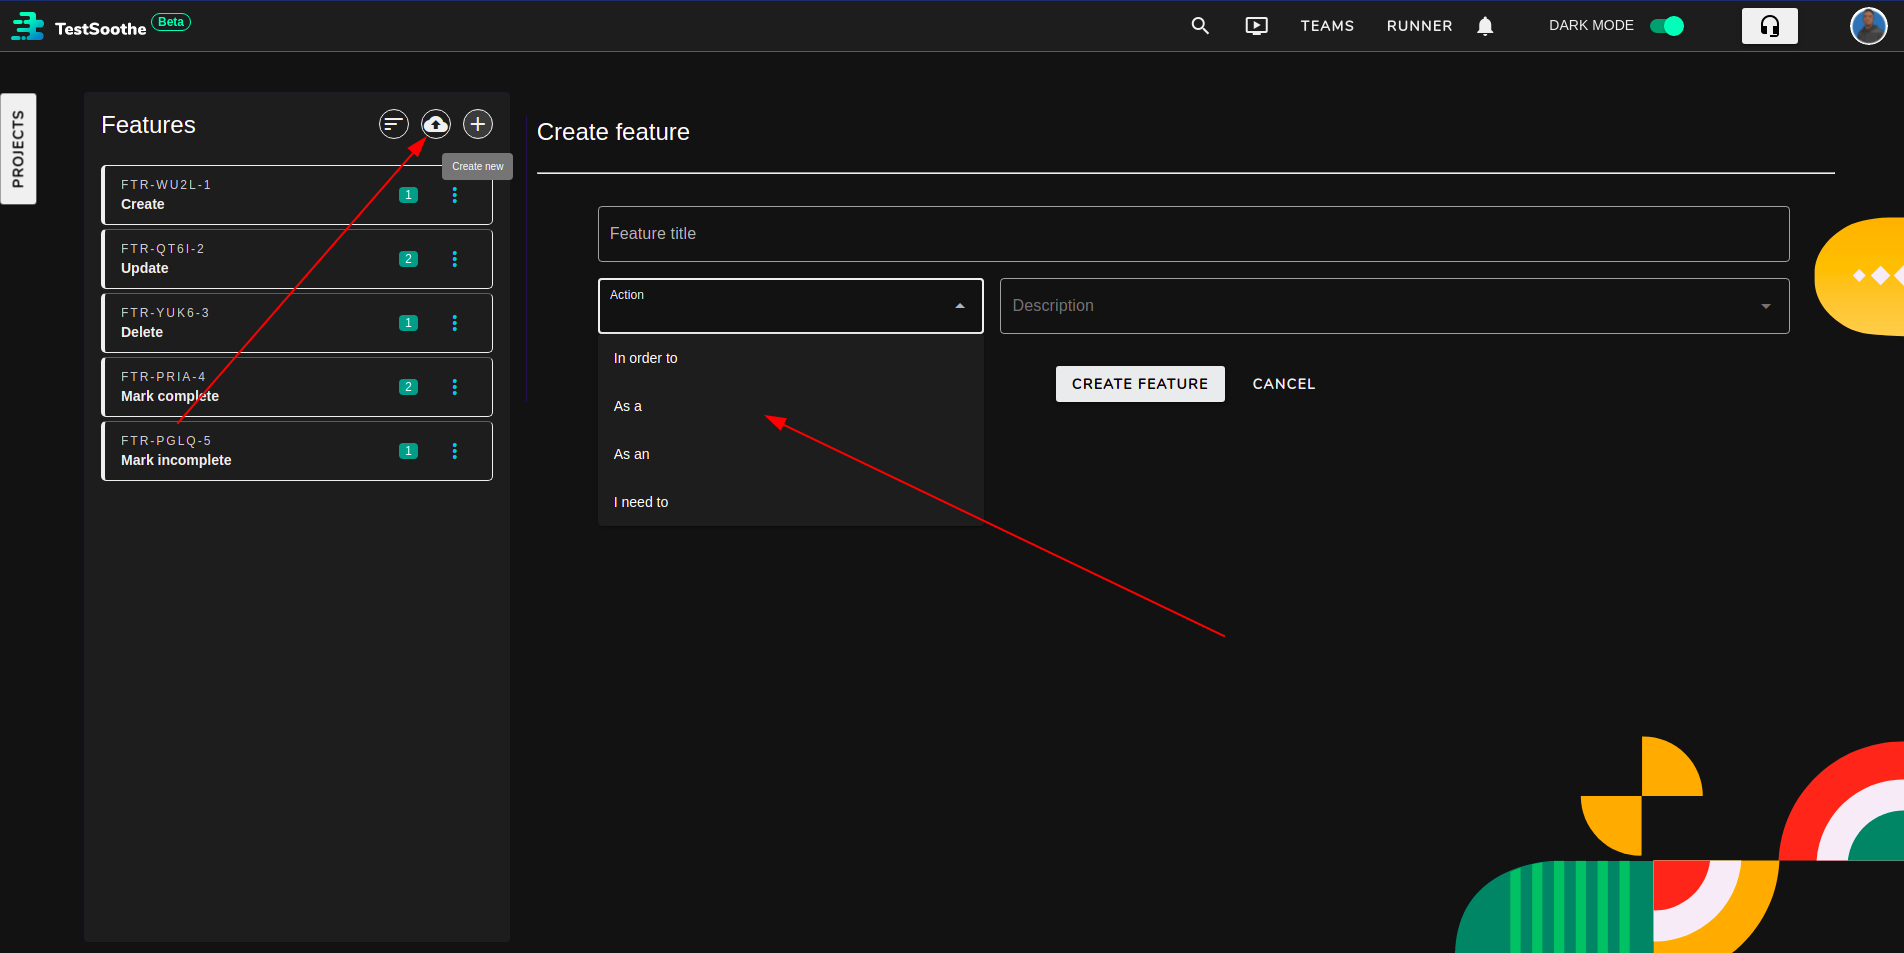
Select the desired gherkin feature keyword from the dropdown and fill out the field beside each to complete the line.
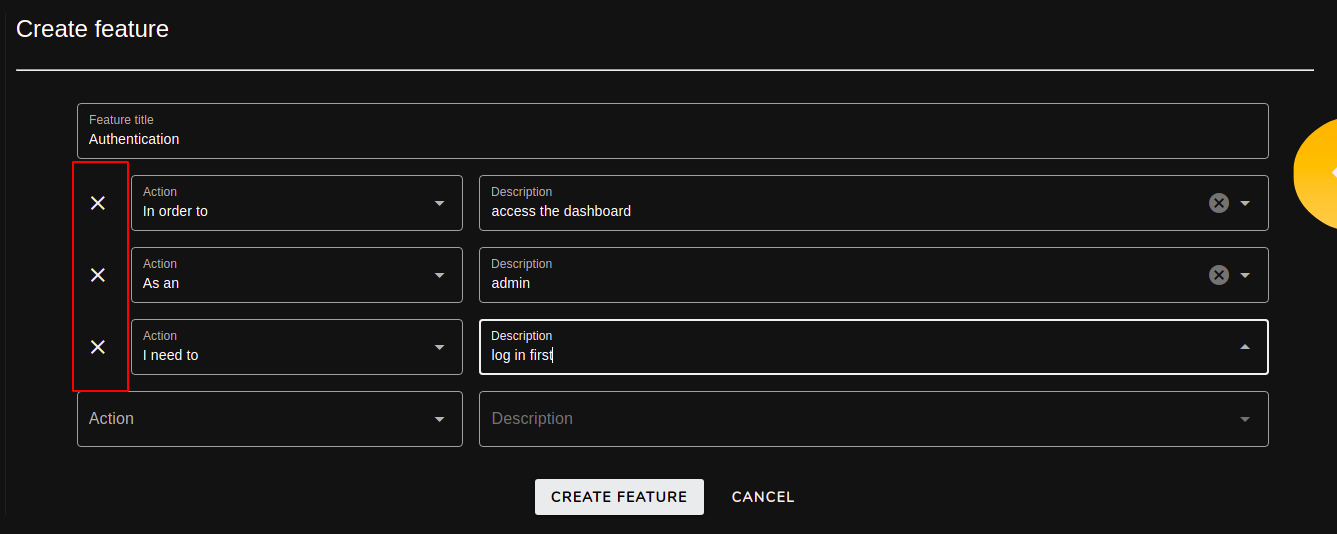
Note that the details provided for features are only descriptive and are not used in running the scenarios contained in the feature. This therefore means that they are optional.
Delete any of the feature lines by click  on the left side of each line.
# Feature Options
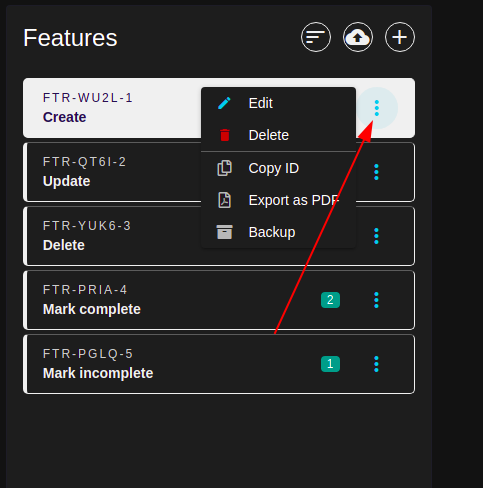
Click on  to the right of each feature list item to view the options for the feature.
# Edit a feature
Click  from the desired feature's options and update the feature information as desired in the form that is shown to the right.
# Delete a feature
Click delete from the desired feature's options and confirm deletion.
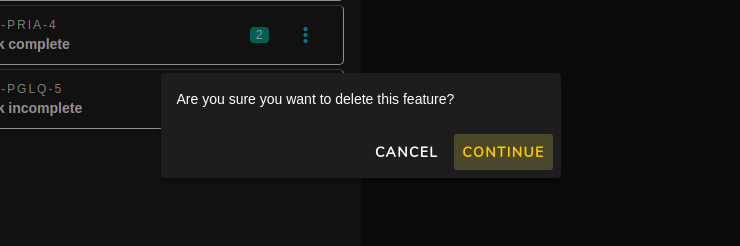
NOTE: Deleted features CANNOT be retrieved and this would also delete all scenarios under the feature.
# Other Options
- Copy ID: Copies the id of the feature to the clipboard. This may be needed for the cli runner.
- Export as PDF: Exports the feature to a PDF file that's downloaded automatically via your browser.
- Backup: Creates a zipped backup of the feature in the background and sends an email to download the zip file when ready.
"Export as PDF" and "Backup" options are disabled if feature doesn't contain any scenario.
# Import backup
Zip files created with the backup option above can be imported later.
Use  to import zip files.
An email will be sent once the feature has been successfully imported. If there's an error while importing, an email would be sent to indicate this as well.
Note that only zip files containing proper backup files can be uploaded. It is therefore advised to only import zip files created with the backup option.