# Projects
A project is the topmost organization level. It may represent an application or product that needs to be tested.
# List of projects
All projects are listed on the Projects pane, which is the leftmost pane on the dashboard.

Each project list item shows:

- the unique ID of the project;
- the name of the project and its url;
- the name of the team the project belongs to; and
- the number of scenarios in the project.
The url is only available is provided when creating the project.
The team name is only available if the project belongs to a team.
The Projects pane may be collapsed when other components need the real estate however, the pane can be expanded again by clicking on the Projects side tab.

# Create a new project
To create a new project, click  at the top right corner of the pane. Then fill out the project information on the shown page.

Before the project can be tested with the runner,
<script src="https://cdn.jsdelivr.net/npm/@dscribers/surf-me@1.2.4/dist/surf-me.min.js"></script>needs to be added to the project page.
The latest version of the link would always be provided when the project is being created.
# Project Options

Click  to the right of each project list item to view the options for the project.
# Edit a project
Click  from the desired project's options and update the project information as desired in the form that is shown to the right.

# Delete a project
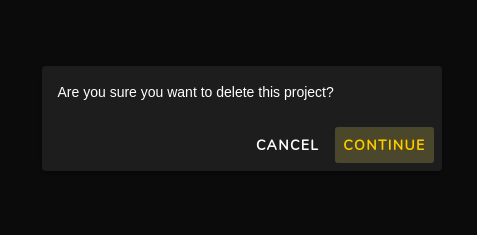
Click delete from the desired project's options and confirm deletion.

NOTE: Deleted projects CANNOT be retrieved and this would also delete everything under the project.
# Other Options
- Copy ID: Copies the id of the project to the clipboard. This may be needed for the cli runner.
- Export as PDF: Exports the project to a PDF file that's downloaded automatically via your browser.
- Backup: Creates a zipped backup of the project in the background and sends an email to download the zip file when ready.
- Insert script: Shows the javascript snippet that needs to be inserted into project pages to make them accessible to [TestSoothe][https://testsoothe.com].
"Export as PDF" and "Backup" options are disabled if project doesn't contain any scenario.
# Import backup
Zip files created with the backup option above can be imported later.
Use  to import zip files.

An email will be sent once the project has been successfully imported. If there's an error while importing, an email would be sent to indicate this as well.
Note that only zip files containing proper backup files can be uploaded. It is therefore advised to only import zip files created with the backup option.